Pages

Showing posts with label owl punch. Show all posts

Tuesday, December 17, 2013

Minion Snowfall


A few days ago, I received a request for a Christmas minion card. I did a quick alteration to a card a made a few days ago and came up with this.

For this card, I used cute little snowman and santa hat from Newton's Nook Designs Frozen Friends set for the background.  The minion was created using the Stampin' Up Owl Punch.  And of course I had to add some snowflakes and bling!

Click here to me my original minion post.

I ended up making these cute little guys right before the second movie came out and spend the last couple of months making a TON of minion cards!!  Good thing they have died down a little bit because they take a LONG time to make ;)

I also made a partying minion card for a 21st birthday...
and a back-to-school one for my best friend on her first day back to school as a third grade teacher.

Here's a close up:


I am also entering this card in the following challenges:
CAS-ual Fridays #123 - Let It Snow

Friday, November 22, 2013

Owl Punch Turkey Card


This is the second of my November workshop cards with the residents at the Luther Manor Retirement Community.  We had lots of fun making these cute turkey cards for them to give to their friends and family on Thanksgiving!  

I am also linking it to this week's CAS Project with Leaves challenge over at The Paper Players.

Thursday, September 26, 2013

Merry Monday Challenge #76

Here is my second card using the Stampin' Up Button Buddies stamp set, which is retiring at the end of May.  I love cute bottoms that it incorporates.  The tiny heart in the corner is from the owl punch.

I am also submitting this card for the Merry Monday Challenge over at Always Playing with Paper. The challenge this week was to use a snowman...how cute is that?  I'm sure I will be making a lot more snowman cards in the next few months :)

Hopefully this is the last of winter we will see for awhile :)

Materials Used:
  • Cardstock - white, red, blue
  • Paper - assorted blue patterned
  • Other - markers, snowflake punch, owl punch, white buttons, red ribbon, silver brad


Monday, September 16, 2013

Owl Punch Halloween Card


Here's a look at my first Halloween card I made this year.  For this one, I used the Stampin' Up owl punch again to make the little bat and ghost.  The ghost is made by cutting the ears off of the owl and turning it upside down.  The bat is just the owl with the wings made out of two bitty butterfly punches.  So cute!!  I love the owl punch because you can make so many different little critters with it.

This item is also for sale on my etsy shop.

Materials Used:


Wednesday, August 21, 2013

Minion's First Day of School

Today I have another Minion card to share (you can see my original post here and my "partying minion" card here).  I made this for best friend Jessica.  She teaches third grade and her "first day of school" is this week.  It turned out super cute and I was even able to stamp "have a wonderful day" in white ink to make it look like chalk.  I was originally going to make her a minion card for her birthday, but it's not until May so I came up with this in the mean time :)


Available for purchase through my etsy stop.
Materials Used:
  • Stamps: "have a wonderful day"
  • Other: stampin up owl punch, d'vine swirl embossing folder, black marker, googley eyes


Friday, July 12, 2013

Minion, Minions, and More Minions!

With the new "Despicable Me" movie coming out (which was awesome, by the way!) I've had a ton of requests for my minion cards!  I'm currently working on a large order for birthday party invitations...which means that I've had to make lots and lots of minions in the past few days.  Thanks to my mom and Samantha Hansen for helping me assemble the minions!  Here's about half of them:


You can view my original blog post here.  If you're interested in making your own minions, I also have a tutorial on the blog post.  The minions are made using the stampin' up owl punch.

I have currently reached my monthly sales limit on ebay, but I still have some for sale at my etsy shop.  Get them while you can, they're going fast!  I'm also happy to do customized orders...just send me a message :)


Friday, June 28, 2013

Minion Card from Despicable Me

I finished these cards just in time for the new Despicable Me movie premiere!  I used the stampin' up owl punch (with some alterations) to make the minions.  I got the idea from a blog post here. Scroll down for the tutorial on how to make the minions:


Materials Used:
  • Stamps: "happy birthday" from easy events
  • Other: owl punch, cardstock, happy birthday embossing folder, ribbon, thin black marker, googly eyes


Minion Tutorial:
Here is what you will need for each minion - each card has two.  
Owl punch pieces: 2 black owls, 1 yellow owl, 2 blue owl vests, 2 black large eyes.
Other pieces: 1 black strip (1 1/4in x 1/4in), 2 yellow strips (1 1/4in x 1/4in) 2 googly eyes

1.) Cut off the ears and feet of the yellow owl.

2.) Cut of the top of the first blue vest and the sides of the second blue vest (about 1/8in thick).

3.) Attach  them on to the body to make the overalls and cut off the access overall straps if needed.

4.) Cut off the bottom of the black owl and attach to the back of the body.

5.) Round out both corners on the black strip.  

6.) Stick two googly eyes to the large black owl eyes, attach to the black strip, and attach to the body.

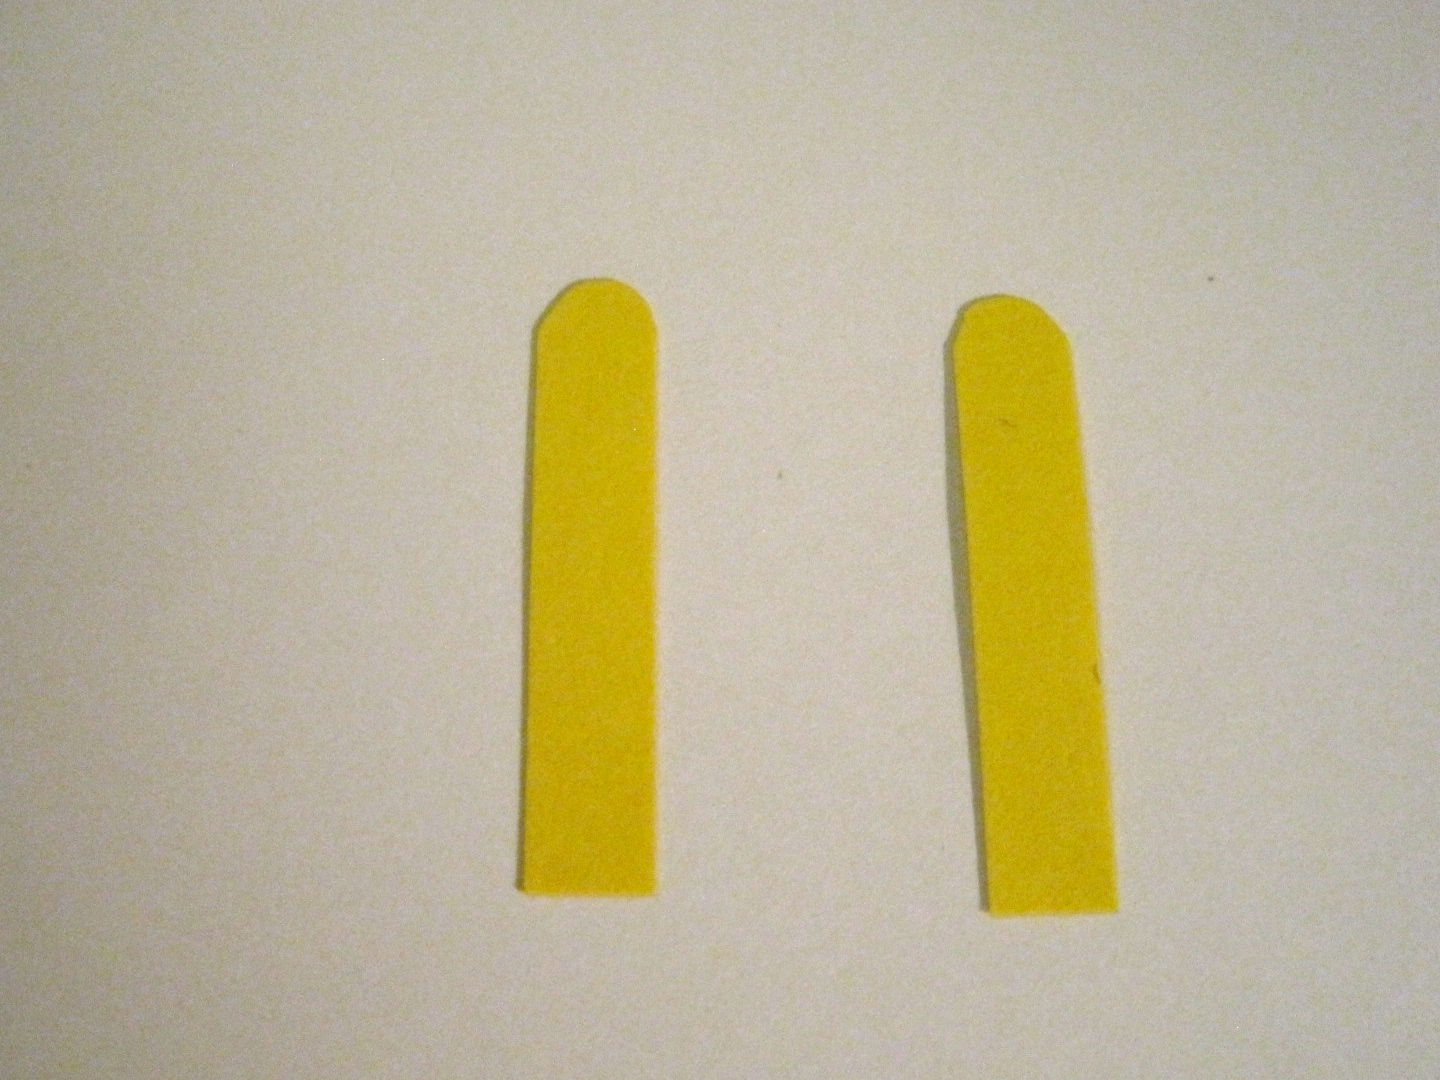
7.) Round out the corner of one end of each of the yellow stripes.

8.) Cut off the feet of the second black owl, making sure to leave some black on the ends.  Attach them to the rounded ends of the yellow strips.

9.) Attach the arms to the back of the body of the minion.  It should look like this:

10.) To make the other minion, use the same steps as above and only glue on one eye instead of two.  It should look like this:


11.) Once the minions are attached to the card, add a mouth and some hair.

And your done!  They are a little putsy, but if you are making a bunch of cards at the same time and make all of the pieces for each step at once it goes a lot fast.  Enjoy :)

Friday, June 7, 2013

Winter Penguins


My card I completed this weekend at Magnolia Ride Hideaway in Mount Horeb, Wisconsin.


I love the Stampin' Up Owl Punch...so many cute things you can do with it!  To make the eyes on the penguin go a little faster, I drew black dots for the pupils instead of using the smallest circle in the owl punch.  The beak was made by using the owl punch heart and gluing the eyes on top.


Materials Used:
  • Stamps - "merry christmas" stamp from easy events
  • Other - owl punch, northern flurry textured impressions embossing folder


Tuesday, May 7, 2013

Graduation Owls

I know a lot of people graduating in May, so I ended up having to make a ton of graduation cards this weekend.  It was the first time I got to use my new Stampin' Up Owl Punch!  To make the owl's wings, I cut a one inch scallop punch in half.  For this example, I used maroon, black, and white, but I individualized each one based on the school colors.  

For the graduation hat, I used my Cricket to cut out a triangle from the Georgia Basic Shapes cartridge. I connected it to the card using a brad and used colored cross-stitch floss for the tassel.  The diploma is just a rolled up square of paper with ribbon tied around it.  I used regular printer paper instead of card stock so it would roll-up a little better.


Materials Used:
  • Cardstock - white, black, brown, and assorted colors
  • Paper - graduation
  • Stamps - congratulations!
  • Ink - black
  • Other - owl punch, 1 in scallop punch, 3 in scallop punch, georgia basic shapes, paper, black ribbon, brad, assorted colored string
Like what you see?  Buy this item from me on etsy or ebay.