Pages

Friday, June 28, 2013

Minion Card from Despicable Me

I finished these cards just in time for the new Despicable Me movie premiere!  I used the stampin' up owl punch (with some alterations) to make the minions.  I got the idea from a blog post here. Scroll down for the tutorial on how to make the minions:


Materials Used:
  • Stamps: "happy birthday" from easy events
  • Other: owl punch, cardstock, happy birthday embossing folder, ribbon, thin black marker, googly eyes


Minion Tutorial:
Here is what you will need for each minion - each card has two.  
Owl punch pieces: 2 black owls, 1 yellow owl, 2 blue owl vests, 2 black large eyes.
Other pieces: 1 black strip (1 1/4in x 1/4in), 2 yellow strips (1 1/4in x 1/4in) 2 googly eyes

1.) Cut off the ears and feet of the yellow owl.

2.) Cut of the top of the first blue vest and the sides of the second blue vest (about 1/8in thick).

3.) Attach  them on to the body to make the overalls and cut off the access overall straps if needed.

4.) Cut off the bottom of the black owl and attach to the back of the body.

5.) Round out both corners on the black strip.  

6.) Stick two googly eyes to the large black owl eyes, attach to the black strip, and attach to the body.

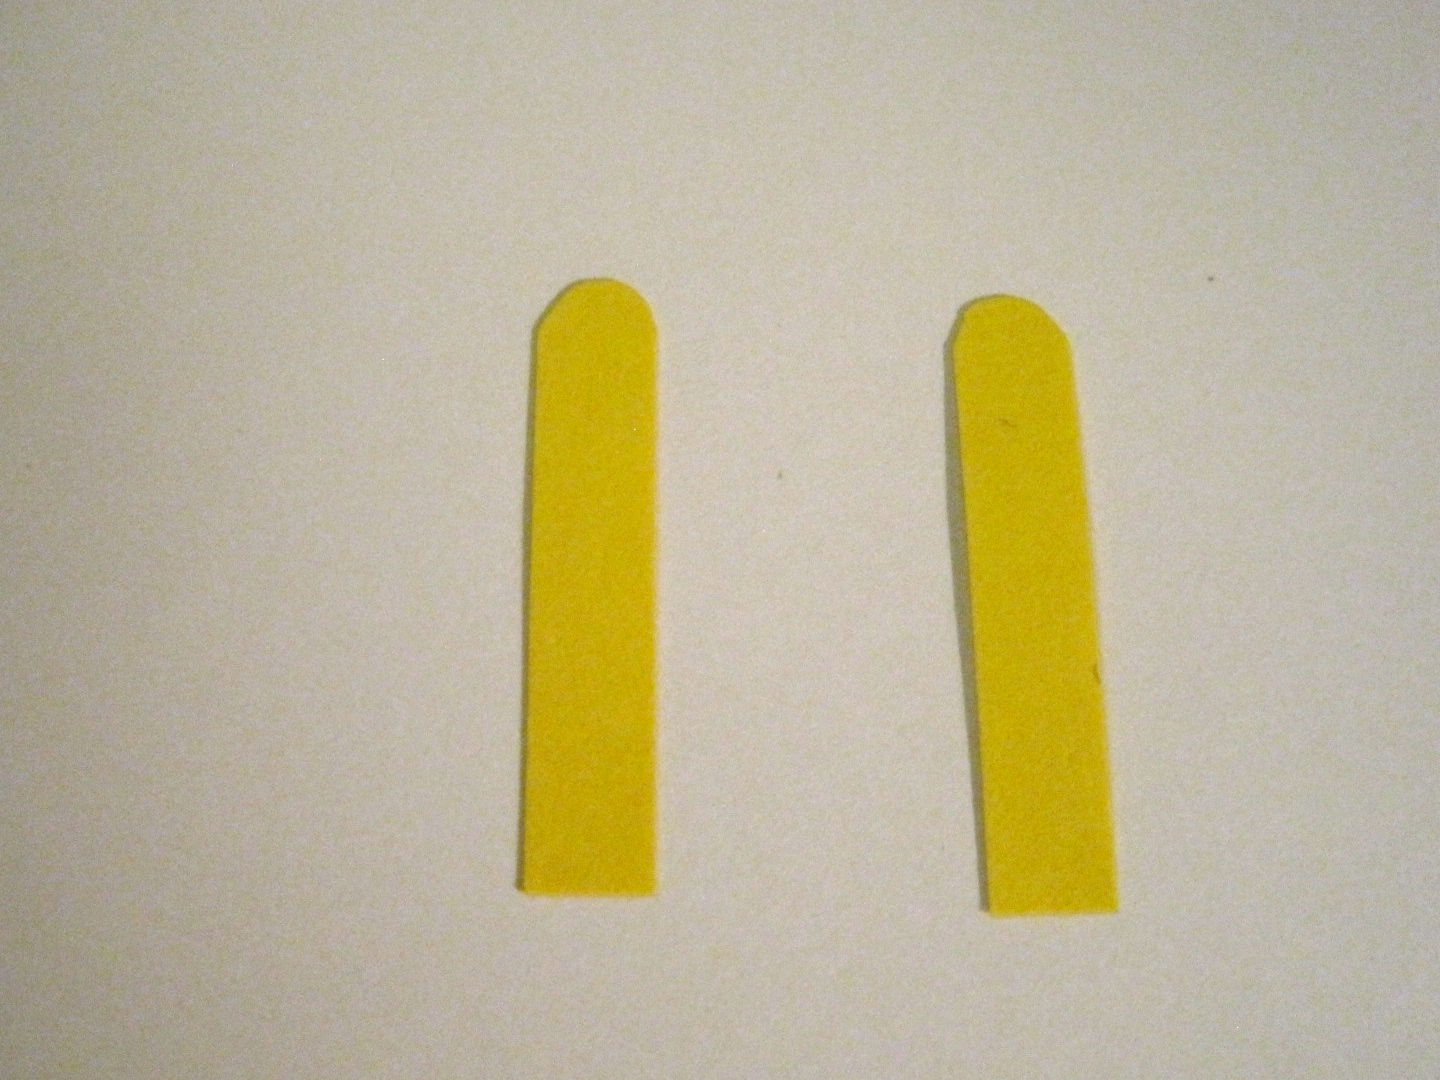
7.) Round out the corner of one end of each of the yellow stripes.

8.) Cut off the feet of the second black owl, making sure to leave some black on the ends.  Attach them to the rounded ends of the yellow strips.

9.) Attach the arms to the back of the body of the minion.  It should look like this:

10.) To make the other minion, use the same steps as above and only glue on one eye instead of two.  It should look like this:


11.) Once the minions are attached to the card, add a mouth and some hair.

And your done!  They are a little putsy, but if you are making a bunch of cards at the same time and make all of the pieces for each step at once it goes a lot fast.  Enjoy :)

Sunday, June 23, 2013

Cocktail Cheers Card

I made this card using the Stampin' Up Happy Hour stamp set.  I first stamped all of the drinks with black ink on the card and the stamped each drink with colored in on a separate sheet of white cardstock.  I then cut out the drink part of each cup and glued in onto the card.  I also added a cut out orange piece, stamped on the umbrella, and added some rhinestones.


Like what you see?  Buy this item from me on etsy or ebay.


I love how it turned out...the drinks are so bright and colorful!

Materials Used:
  • Stamps: happy hour
  • Other: cardstock, ink, rhinestones


Saturday, June 15, 2013

Baby Ducks

Here is another card made with the stampin' up easy events stamp set:


Like what you see?  Buy this item from me on etsy or ebay.

Materials Used:
  • Stamps - easy events
  • Other - polka dot embossing folder, scallop punch, circle punch, baker's twine


Wednesday, June 12, 2013

Birthday Wishes Ship

I made this card from my dad and grandpa's upcoming birthdays this year.  My grandpa made a boat about 35 years ago, and boating has always been a big part of our family.  This was the first time that I used the stampin' up open sea stamp set.  I really like the design of it and it's sometimes hard to find "guy" cards.  I got the idea from a technique class I went to.  Here is the blog post.  There was a really cool mosiac technique that went with it, but by dad's birthday came up faster than I realized and I didn't have time to get the materials together.


Materials:
  • Stamps - open sea, "happy birthday wishes" from petite pairs
  • Other - chevron textured embossing folder, circle punches (3in, 2 1/2 in, 2 in, and 1 1/2 in), red baker's twine


Sunday, June 9, 2013

Birthday Cupcakes

Some more birthday cards I put together at crafting cabin this weekend at Magnolia Ridge Hideaway.  I made six different kinds with the new kathy davis birthday paper pad that I got at jo-annes a few weeks ago (I'm trying to find a link to it...but no luck.)  The cupcakes were really fun to make.  I colored in the cupcake wrapper and the dots on the bottom of the pan with stampin' up markers, used glitter glue for the frosting, and punched out the heart from the owl punch.


Here is all six of them:


Materials Used:
  • Stamps - easy events
  • Paper - kathy davis birthday stack (#1945)
  • Other - owl punch, scallop trim punch, polka dot embossing folder

Saturday, June 8, 2013

Flip Flop Birthday

First card I made with the Flip Out stamp set.  I love all of the different flip flop designs and mix/match accessories that come with it...so much fun for summer!  You can't see the bottom very well in the pictures, but the green cardstock is also stamped with flowers to match the beige stripe.


Materials Used:
  • Stamps - flip out (impression obsessions), "happy birthday with a cherry on top!" stamp from a word for you


Friday, June 7, 2013

Winter Penguins


My card I completed this weekend at Magnolia Ride Hideaway in Mount Horeb, Wisconsin.


I love the Stampin' Up Owl Punch...so many cute things you can do with it!  To make the eyes on the penguin go a little faster, I drew black dots for the pupils instead of using the smallest circle in the owl punch.  The beak was made by using the owl punch heart and gluing the eyes on top.


Materials Used:
  • Stamps - "merry christmas" stamp from easy events
  • Other - owl punch, northern flurry textured impressions embossing folder